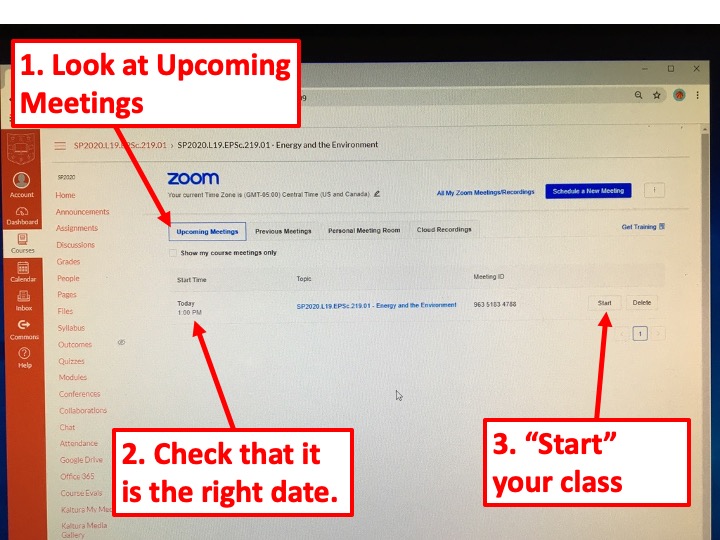
If you record your meeting to the cloud, it is easy to make Zoom recordings available to your students. To record to the cloud, click on the Zoom link in the left-hand navigation bar in your Canvas course.
- “Start” the zoom meeting.
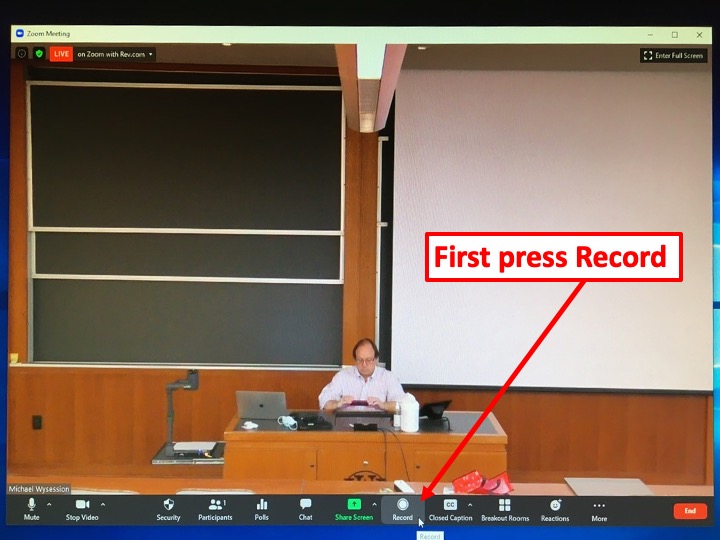
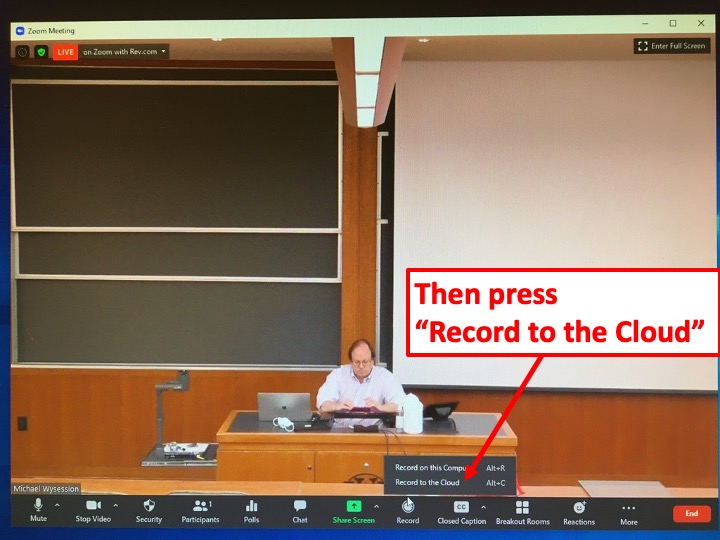
- Press the “Record” button to start recording the Zoom meeting and then choose “Record to the Cloud.” Note that you may have already chosen to record the meetings to the cloud when you set up the recurring Zoom meeting for your class sessions. If you chose to record when you set up the recurring meeting, Zoom will automatically start recording when you begin the meeting.
[Note: If your class is using Zoom HIPAA, you will not be able to record to the cloud, but you can still record locally to your computer and then upload the video once it has been rendered.]
After the Zoom meeting ends, you will get an email to indicate when your Zoom Cloud recording is done processing. At that point, your course recording will be available to all students enrolled in the course. They will need to:
- Navigate to Zoom within your Canvas course
- Click on the “Cloud Recordings” tab
- Click on the name of the recording to view the recording.
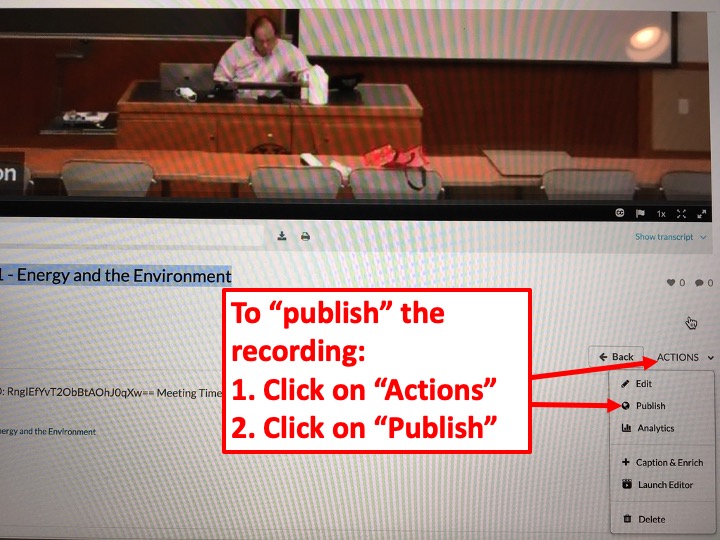
In addition, the Zoom recording will appear in your “Kaltura My Media”, which only you can see. If you want to make the recording available to your class within Kaltura Media Gallery, you will need to take a few additional steps:
- Click on the title to access the file in Kaltura My Media. If you like, you can change the title.
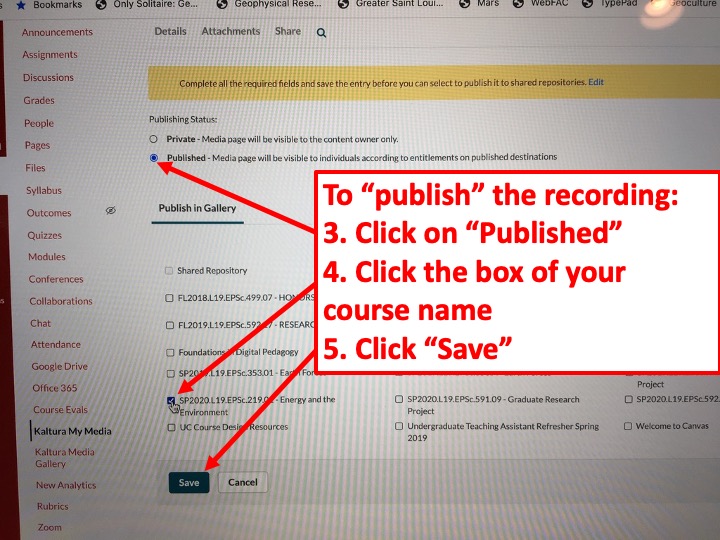
- Under “Actions,” click on “Publish.”
- Under “Publishing Status” click on “Published,” then click the checkbox for your course, and then click “Save.”
- Your Zoom recording will now appear in the Kaltura Media Gallery for your course, and your students will be able to view it.
- You can also embed the video in a Canvas page for students to view.
If you chose to record locally instead of to the cloud, you will need to upload the video to the Kaltura My Media folder. To do this:
- click on Kaltura My Media
- Click on Add New -> Media Upload.
- Click Choose a file to upload, and browse to your Zoom recording on your local computer.
- Select the recording file, click Open, and then name the video.
- Scroll down to the bottom of the screen, and follow steps 3, 4 and 5, above.